
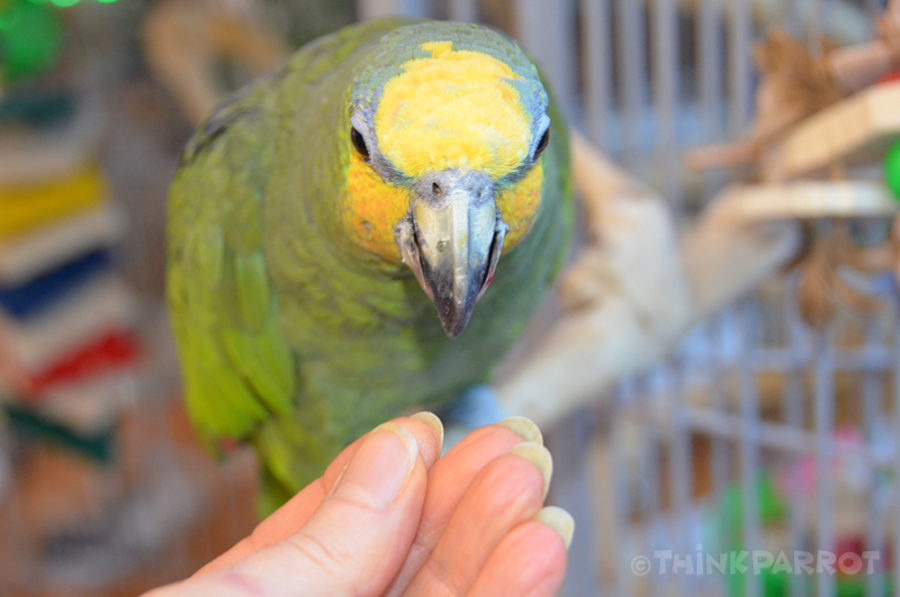
Make clipping or filing a parrot’s nails easy using desensitization and shaping. No need for toweling and loss of trust on the bird’s part! Of course, if the parrot’s claws are extremely overgrown or if you aren’t sure of the amount you can take off, it is best to take your bird to your avian vet.
Tools
First, decide on which tool you are going to use. Always make life as easy as possible for you and the parrot. Choose a tool that you will be confident with. It could be small animal clippers, human nail clippers, a file or a Dremel.
In the beginning, for Ollie who was then not tame and had a phobia of hands, I bought a pair of long handled, serrated, human toenail scissors. This way my hands could be much further away from his body than if I had used a pair of small animal clippers (which we progressed to next), plus the narrow point made it easier to get to the smaller nails. The scissors seemed to me to be the least intrusive, however the drawback was that they were only just strong enough to cut the tips off his two largest nails. These or similar scissors would probably be safer than a pair of small animal clippers for a small parrot.
The Nails
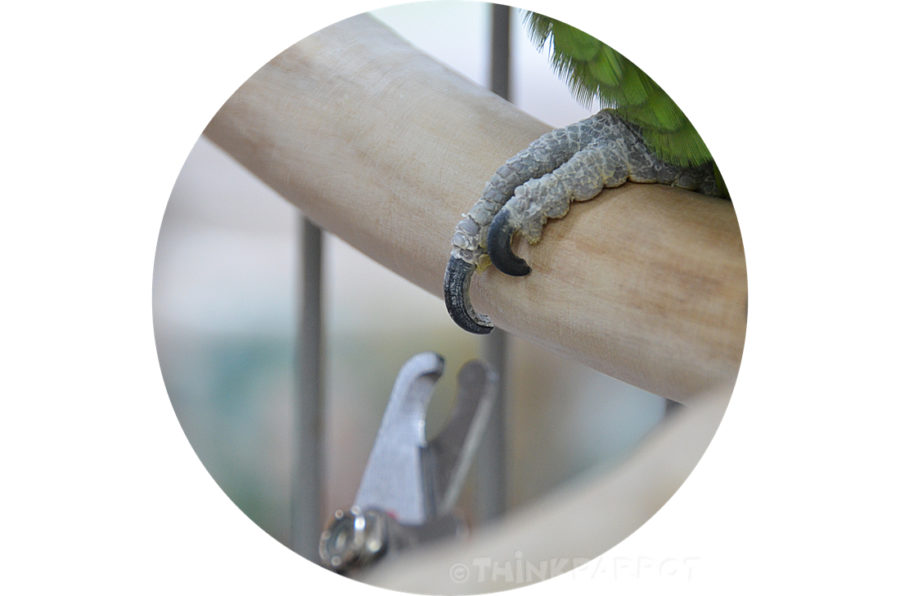
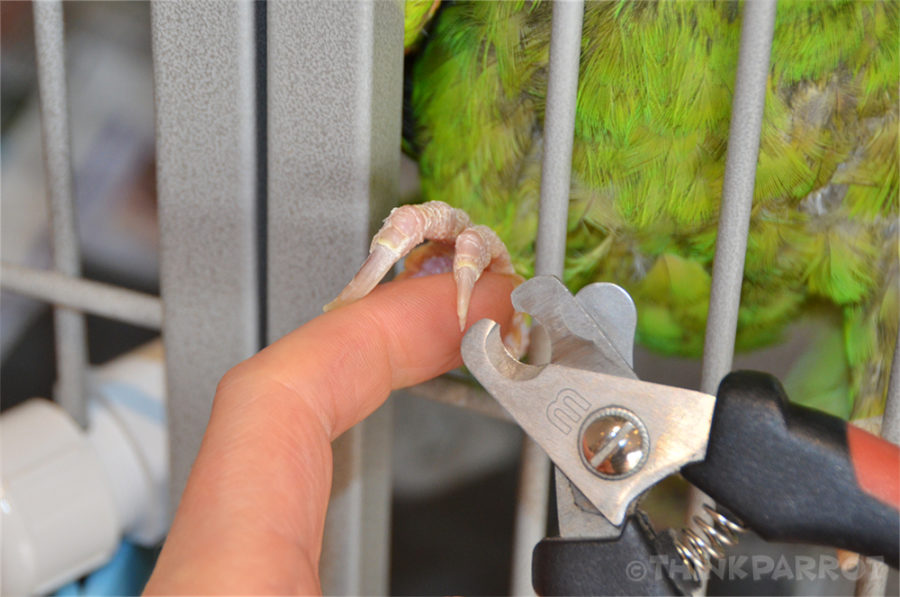
Each nail has a “quick” running through it. This is alive and full of blood – a bit like the bed of a human nail. The quick is easy to see in pale nails and impossible to see in dark nails. If the quick is cut, then it can bleed profusely which could be life threatening in a small bird. Always have some styptic powder, icing sugar or cornflour at the ready if you accidently nip the quick. These will help stop the bleeding. The icing sugar has a bonus in that the sugar is antibacterial. Only take off the very tip of the nail. Too short nails and the parrot may have trouble perching. I prefer leaving nails on the slightly longer side so that the bird can easily grip when climbing and hanging upside down.
Desensitization
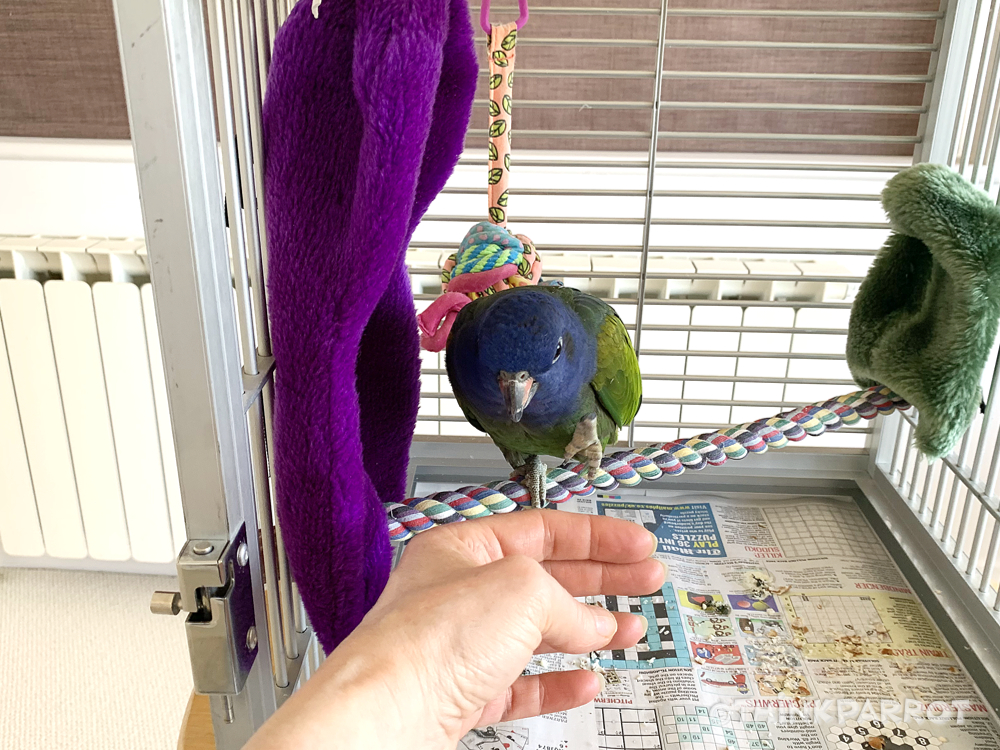
Systematic desensitization is very gradually exposing the parrot to a fear eliciting stimulus (in this case the clippers/file/Dremel) never provoking anything stronger than a very mild response. We might start by leaving the clippers (or file/Dremel) at the far side of the room and gradually move them closer to the parrot, all the time making sure he is showing relaxed body language as the distance between them decreases. It may take minutes, hours, days or weeks. We go as fast as the bird guides us.
Positive Reinforcement
As the clippers get near to the bird, we might also introduce positive reinforcement in order to pair them with something desirable, like a treat. Our aim is to eventually be able to hold the clippers close enough to begin shaping.
Shaping
Shaping is breaking the target/final behaviour into tiny manageable steps or approximations. Think about what you want the final behaviour to look like. It could be the parrot sitting or standing on a perch showing relaxed body language whilst you clip/file the nails from underneath or it could be the parrot placing a foot on the bars of the cage whilst you clip/file. For the latter you would have to shape his holding the bars first if he didn’t already do that on cue and maybe shape his relaxed body language as you briefly touch, then hold each toe.
Reinforcer
Next, think about what you are going to use to reinforce each of the steps or approximations towards the final/target behaviour. A favourite treat or a head scratch works well. One time, for fun, I paired a squeak with a head scratch so that the squeak became reinforcing in itself. Then I successfully cut Ollie’s nails using only the squeak as a reinforcer.
For this example I’m going to use a treat and clippers. The final behaviour is the parrot sitting relaxed on the perch whilst I clip the tip off a nail:
Approximations
The first step might be bringing the clippers as close to the parrot as to provoke no reaction. Hold for a second and remove the clippers. The parrot’s relaxed body language is reinforced with a TREAT!
Step 2 – Parrot sits with relaxed body language (RBL) as you bring the clippers an inch closer. Hold for a second and remove the clippers. TREAT!
Step 3 – Parrot sits showing RBL as you bring the clippers slightly closer. Hold for a second and remove the clippers. TREAT!
Step 4 – Parrot sits showing RBL as you bring the clippers closer still. Hold for a second and remove the clippers. TREAT!
Step 5 – Parrot sits showing RBL as you bring the clippers even closer. Hold for a second and remove the clippers. TREAT!
You may want to end the session there depending on the bird. If the parrot fails a step (RBL is not so relaxed) then back up and repeat the last successful step. Then move forwards again but in even smaller approximations. Always end the session early, on a successful approximation.
For the next session, start again from Step 1 and see if you can add a couple of more steps – maybe end on Step 7. Each time you start from the beginning, you’ll find that you’ll move through the repeated steps increasingly quickly, even leaving some of them out.
Step 6 – Parrot sits showing RBL as you bring the clippers close. Hold for a second and remove the clippers. TREAT!
Step 7 – Parrot sits showing RBL as you touch a nail with the clippers. Remove the clippers. BIG TREAT!

Step 8 – Parrot sits showing RBL as you open the clippers next to his nail. Hold for a second and remove the clippers. TREAT!
Step 9 – Parrot sits showing RBL as you touch the tip of the nail with open clippers. Hold for a second and remove the clippers. TREAT!
Step 10 – Parrot sits showing RBL as you clip the end of the nail. BIG TREAT!
Watch the bird always – he will tell you how fast or how slow he wants to go – you might speed through some of the approximations yet break others down even smaller. The above might be achieved over a few sessions in a day or in a few sessions over a few days, or longer. Always end on a successful step or approximation BEFORE the bird loses interest or becomes uncomfortable. Stop early rather than late. This way the bird will more likely look forward to the next session.
Every time you want to clip the parrot’s nails you will have to shape the process from the beginning. You will also have to shape the process from the beginning with each toe, since each has a different sensation for the bird, ie. just because you can cut the tip off a front nail, doesn’t mean you can clip a back one just like that.
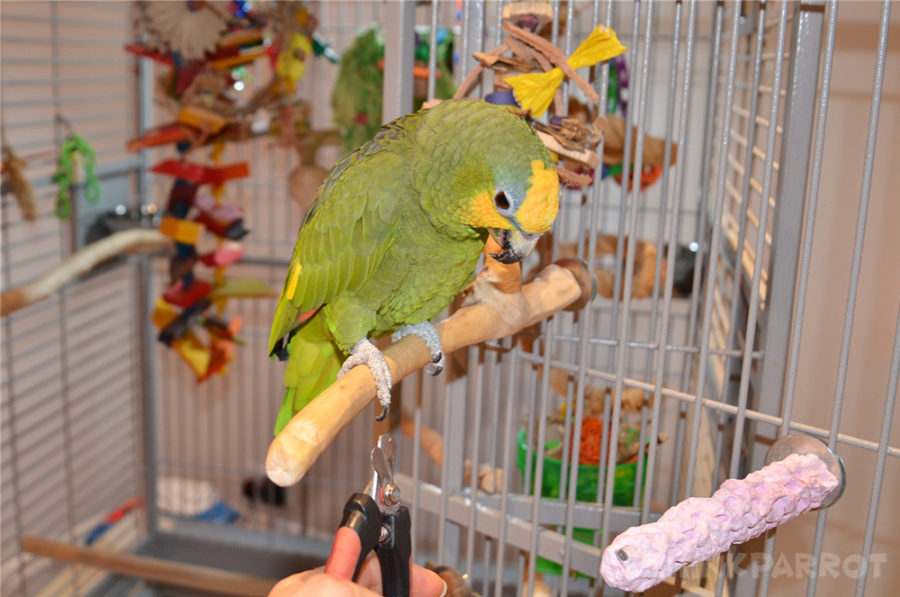
Each bird is different. Use anything you can to make the process as easy as possible. Chico tends to stick his feet outside the cage bars to grip my fingers, so I use that to my advantage. It is easy to clip the end of a nail now and again which he hardly notices and I make a big fuss of him.
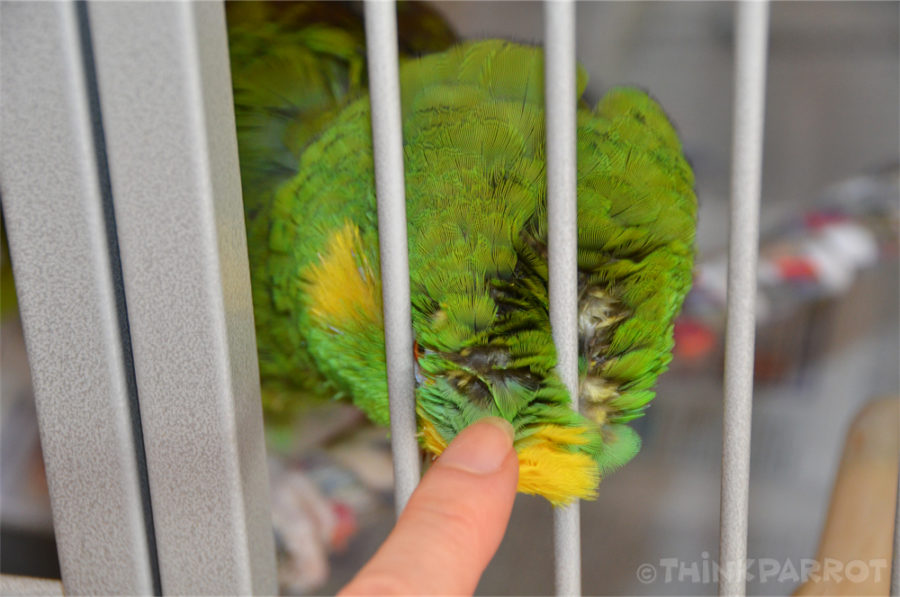
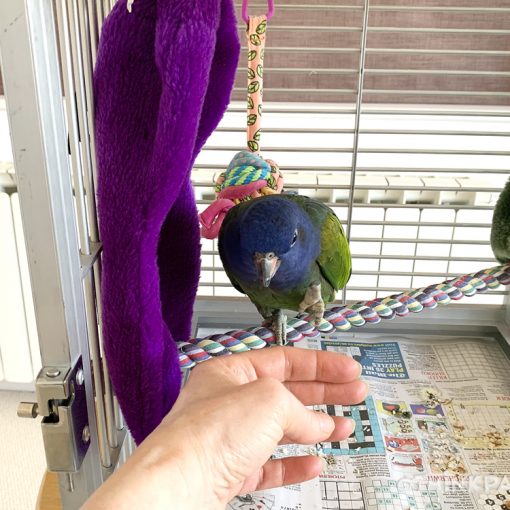
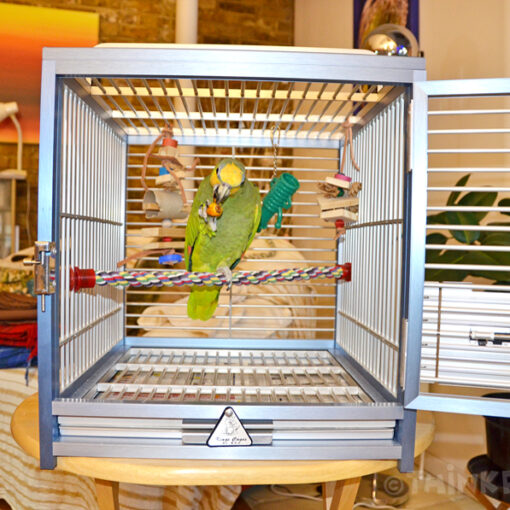
If the bird climbs cage bars you can sometimes clip or Dremel the nails as he holds the bars. Or shape the required relaxed body language using the previously mentioned approximations whilst he holds the bars.
With Kobe, who is very used to being handled, we flew through the approximations whilst he sits on his window perch. He’s much more relaxed with the long scissors, so I tend to use those rather than the red clippers. Why do they make clippers red?

For JoeJoe the best time to clip his nails is straight after a shower when he’s more concerned about drying off than paying attention to me clipping a nail or two as he sits on a branch in the aviary.
Sandy perches, pedi perches, concrete perches are all available, however they tend only to blunt the tips of the claws rather than reduce length. Their rough surfaces can create redness and sores on the underside of the foot which is something to watch out for. Hence they shouldn’t be used as a roosting or perch that is used very frequently. Concrete perches can be drying to the feet since concrete absorbs moisture.
Using natural branches, like apple or willow, or hardwood perches will help to keep nails groomed as the bird grips.
Note: Baby parrots are usually a little unsteady on their feet as they learn to navigate perches. Their needle sharp claws help them grip. Understandably the claws are uncomfortable on human skin. The sharp points can be filed down a little (or provide a sandy perch – keep checking the underside of the baby’s feet for redness) but please don’t reduce the length as it will be harder for them to grip.
Check out these great resources:
Dr Susan Friedman’s http://www.behaviorworks.org/index.html
Lara Joseph’s https://www.theanimalbehaviorcenter.com/
Barbara Heidenreich’s http://www.goodbirdinc.com/